Monday, November 18, 2013

Weekend Pinterest Round up!

I have quite a few DIY projects in the works, but nothing to show for it at this point. So instead of not writing anything I thought that I would share with you all my top Pinterest picks for the Thanksgiving Holiday season:


For those of your who would like to keep your Thanksgiving Decor to a minimum then this blog is for you. She even provides the links to the templates for this particular look. Check out Tice's Tidbits for more details. 

This is for the parents with kids out there. A great project that your little ones can enjoy. Unfortunately there weren't any instructions listed, but the image makes it very easy to understand!


This website provides a list of festive DIY decorating ideas for your Thanksgiving get together. All of them are very simple and straight forward ways to add some Thanksgiving flair to your dinner table. 


As a new Mom I'm really thankful for my first Thanksgiving with my little girl and my Husband. I have a few friends that have older children who want to be helpers. Here are some projects specifically made for them to help decorate the home. 


Well that's my list of home decor projects. I hope that you all will use them and enjoy them this coming holiday. If you are interested in other things that I've pinned, then please click the follow me link on this page. Happy Thanksgiving Everyone!!


Friday, November 15, 2013

MAJOR Ikea Haul!

Today's post is all about: 


I like show off when I get good deals, especially on furniture. It's what I imagine getting high must feel like, except with out all of the criminal and social repercussions. That's why my email box is filled with Fab, Joss and Main, and One Kings Lane emails , I just can't pass up the furniture deals. Well because of this I feel like I'm starting to develop a furniture collection habit. In our house I've managed to procure at least 3 different sets of living room furniture all of which are stored in the basement. My husband sometimes gets a little miffed with me about all of my furniture buying, but in my defense all of the furniture that I have bought was super cheap! Which brings us to my current dilemma. We went into Ikea expecting to buy one sofa and some how ended up with two (more on that in a bit). This means that the sectional we bought from my sister needs to go (we just don't have the room for it in our basement).

So you are probably wondering to yourself "how did you wind up with two sofas when you only went in for one?" Let me explain, we originally went to Ikea to purchase this sofa for the living room:


I've been admiring the Kivik since it first came out at Ikea a few years ago, but decided that we weren't going to buy any furniture until we bought a house. Now that we have our house I finally get to have this glorious piece of Swedish design. Now if you are an Ikea shopper you know how big this store can be. Since we live in Baltimore the Ikea is on the smaller side compared to the other Ikeas (though it's still pretty damn big). Most people visiting Ikea start in the show room meandering through the well decorated furniture displays the contain dreams of what your living space could look like. Us , we always start in the As Is section. I love a good deal and if a good deal can be had it's in the As Is section. This brings me to how we came to buy our second sofa. It was this little beauty:


And it was priced like this:

Yes that is a 55% discount.

My husband had dreams of this sofa and how it would go nicely in our daughter's play room. I too was in love with this sofa so it was a done deal at that point.  I spoke about having a price point in mind when searching for Mid Century Modern furniture in a previous post here. The same thing can be applied to other furniture stores as well. So if I see a sectional for under $300 dollars I'm buying it end of story. In addition to our sofa purchase I also bought the Ikea Sy sewing machine that I had been researching for a while. I'm a beginner when it comes to using a sewing machines so this should be interesting. I'll write a post later to let you all know how that goes. We also bought a grey and red slip cover for the Kivik sofa (the red one was in the As Is section marked down from from $100 to $20). 

So there you have it, our Ikea haul. Not to bad for one evening's work. Now I just have to get home and start decorating and that's the fun part :)

Wednesday, November 13, 2013

I like coffee, she likes tea


My Mom is the best. The End.

Well not quite the end. She is staying with us for a year to take care of my daughter while my husband and I work. How great is that?! There is no way to thank her for all that she has done (unless I win the lottery and break her off a few million dollars ). So I try to do little things here and there for her. My mother is a HUGE fan of iced tea (growing up in south will do that to a person). She is also a fan of saving the planet and likes to reuse the plastic coffee cups that I get from 7-eleven or Starbucks. That sparked the idea for this project.


DIY TIME!

I'm going to make her an iced tea glass. Here is what you will need:

-Old spaghetti jar or mason jar
-Drill
-Spray Paint
-Tape
-Stencil
-Paint marker (that draws on glass)

Cost: Between $5 and $10 dollars (depending on what kind of paint pen you buy)

Step 1.
Clean the jar thoroughly. Get all the goo off from the label so that you have a nice clean surface to work with. Tip: If you don't have goo gone then just use some anti bacterial hand gel. Just squirt it on the jar and rub it in a circular motion. Or if the label is still attached to the  jar submerse it into boiling water and let it sit. After a while the label, along withe the adhesive, will come right off.


Step 2.
Take your stencil and tape it where you would like inside of the jar. I decided to go with my own design. But if you aren't that confident in your writing or design skills then are pre-made stencils available online.


Step 3.
Once you have placed your stencil where you want it, trace over it with you paint pen on the outside of your glass.


Step 4.

Now as we let the paint dry on our glass, lets get out the drill. So first things first, SAFETY!  Mark off where you would like the hole. Make sure your drill bit is secure and you have enough room to work. Keep your fingers clear of the drill at all times! (If you have a piece of wood to set the cap on it will provide you with a steady work surface.)


Step 5.

I ran a piece of steel wool around the hole just to make sure it wasn't to jagged. Wash the cap and let it dry. Note: There were some pieces of the lid still attached were I drilled. I took a pair of needle nose pliers and worked it back and forth until those small pieces fell off.

No drilling picture because it was too cold outside.  My bad.

Step 6.

Once the cap is dry spray paint whatever color you would like, I'm using black. Make sure the outside is evenly coated. DO NOT COAT THE INSIDE WITH SPRAY PAINT!! Let dry for a few hours (I'm paranoid about paint and like to be on the safe side).


I did NOT spray paint this on my dining table. I used a small cardboard box and sprayed it in there. 

Step 7.


Screw the lid back on the jar and you are done! Just fill with ice and tea , then sit back and enjoy :)


I LOVE YOU MOMMY!!


Tuesday, November 12, 2013

I'm in the Houzz

Also Titled 5 6 Reasons Why Houzz Will Solve All Your Home Decorating Needs

When I tell people about Houzz I get a "what are you talking about" look. They think that Houzz is just about a bunch of million dollar homes and of products that would surpass any mortal budge. To all of that I say WRONG!! Let me enlighten you about the joys of Houzz.com.


1. There are loads of pictures for your inspiration.

                                      Contemporary Kitchen by Houston Architects & Designers 2Scale Architects


                                    Contemporary Dining Room by Markham Furniture & Accessories Woodcraft Furniture

I thought that I would start with the most obvious reason people visit Houzz. The inspirational rooms are breath taking! But did you know that regular members (many of whom are not interior designers) post pictures of rooms in their homes as well? Just because you didn't higher some world renowned interior decorator doesn't mean that you can't show off the work that you have done.


2. If you see an item that you like in an inspiration picture you can find out where to buy it.


There are these nifty green tags in many of the Houzz photos that show you what the item's name is and a link to where it can be purchased. If the link is not there you can ask a question directly to the person who designed the room. Usually the person who designed the room will tell you  the name of the product where it was purchased or if it was specially made for the space.


3. All of your home shopping needs in one place.


And when I mean in one place , I mean in one place. You can shop for lighting, tile, kitchen sinks, linen, sofas, anything your heart desires can be found here. You can buy directly from the Houzz site (there is an area you can fill in your credit card and shipping information) or be directed to the website where the item may be purchased.


4. Look at reviews for any professional that you might need.


http://www.houzz.com/pro/michellemillerinteriors/michelle-miller-interiors

And it's all in one place, architect , interior designer , even general contractors. Just type in your zip code and there are reviews of the local professionals in your area. Many of them will also have pictures of the past work they have completed and all of their contact information. Best of all it's free! Angie's List has something similar ,but it will cost you some money.


5. The discussions section is the most over looked and the most helpful portion of the site.


I mean come on!! All of these people are giving you free advice!


Imagine a place where professionals and non professionals look at pictures of your design dilemma and not only give you tips, but walk you through every single step of the decorating process. I'm talking about posting a link to the sofa you should buy, or an interior designer drawing a mock up of your space with how you should arrange your furniture, or how best to arrange the accessories in your room.

6. Or if you are just nosey (like me) you can watch a whole room transform.

I've done it. I've read through a whole thread with over 600 comments and watch a barren room be transformed into something out of a magazine. All that with the help of professionals and every day home owners.

So that's my list. I hope that you enjoyed and will check out Houzz. If you do you should totally follow me so that we may exchange decorating ideas:

http://www.houzz.com/user/kiyoshima

Not my usual DIY article , but I really do feel strongly about this site and believe that not everyone knows all of the features that are available. Do you have a home decorating website or forum that you believe is great? Let me know in the comments sections below this article. That's all for now!

DISCLAIMER: I do not work for Houzz  nor am I being paid by them to write this (I wish I were!). I just wanted people to know how the site can help them since many people I've spoken with didn't know all of the features of the site.

Sunday, November 10, 2013

Come on Craig: Craig's List Find #1

When I first learned about Craig's List oh so many years ago, I was perplexed. "Why would any one meet up with a stranger to buy their hand me downs?" I couldn't help but imagine some crazy person behind a computer waiting to lure his latest victim with promises of an insanely good deal. (Blame my over protective parents and years of America's Most Wanted). Once I got over my paranoia and made my first purchase I was hooked!  So you can imagine my enthusiasm with the purchase of this gorgeous piece of bamboo furniture:

Do you see what I see?!

Isn't it just to die for?! Some other members of my family (Read: Husband) needed some convincing ,but in the end I was triumphant. We picked up our zipcar and zoomed over to our destination to pick up the chair. The seller and his sister were super nice and we talked about furniture, home decor, and Baltimore row homes. I could have kept talking ,but since we had a zipcar time was money (literally).

The thing about that this chair that caused me to fall in love with it was this gorgeous back:


Fun Fact: It took a whole night of pleading to get my husband to cave on this chair. 

Many people aren't really fans of bamboo furniture, but that's just because they haven't seen quality. There are so many examples of great quality bamboo furniture like these:


         Eclectic Family Room by Dc Metro Interior Designers & Decorators alison giese Interiors


These pictures have given me the inspiration to tackle the first long term project of this blog. I'm going to paint and reupholster this chair! It's going to be a long road, but with some patience and perseverance it's going to be an exciting experience. That's all for now!


Friday, November 8, 2013

Water color pillow DIY

So I'm a little on the tired side today , that means I didn't come up with a clever title for today's post. I'm going to continue with the Sharpie theme from the last post and show you how to take the sharpie and make something kind of like this :

Which can be seen and purchased here.

That's right. Why pay a ton of money for something you can do? Let's get started!

What you will need:

Pillow
Sharpie(s)
Fabric (should cover pillow)
Pencil
Needle and Thread
Rubbing Alcohol
Optional: Zipper or Buttons

Step 1:
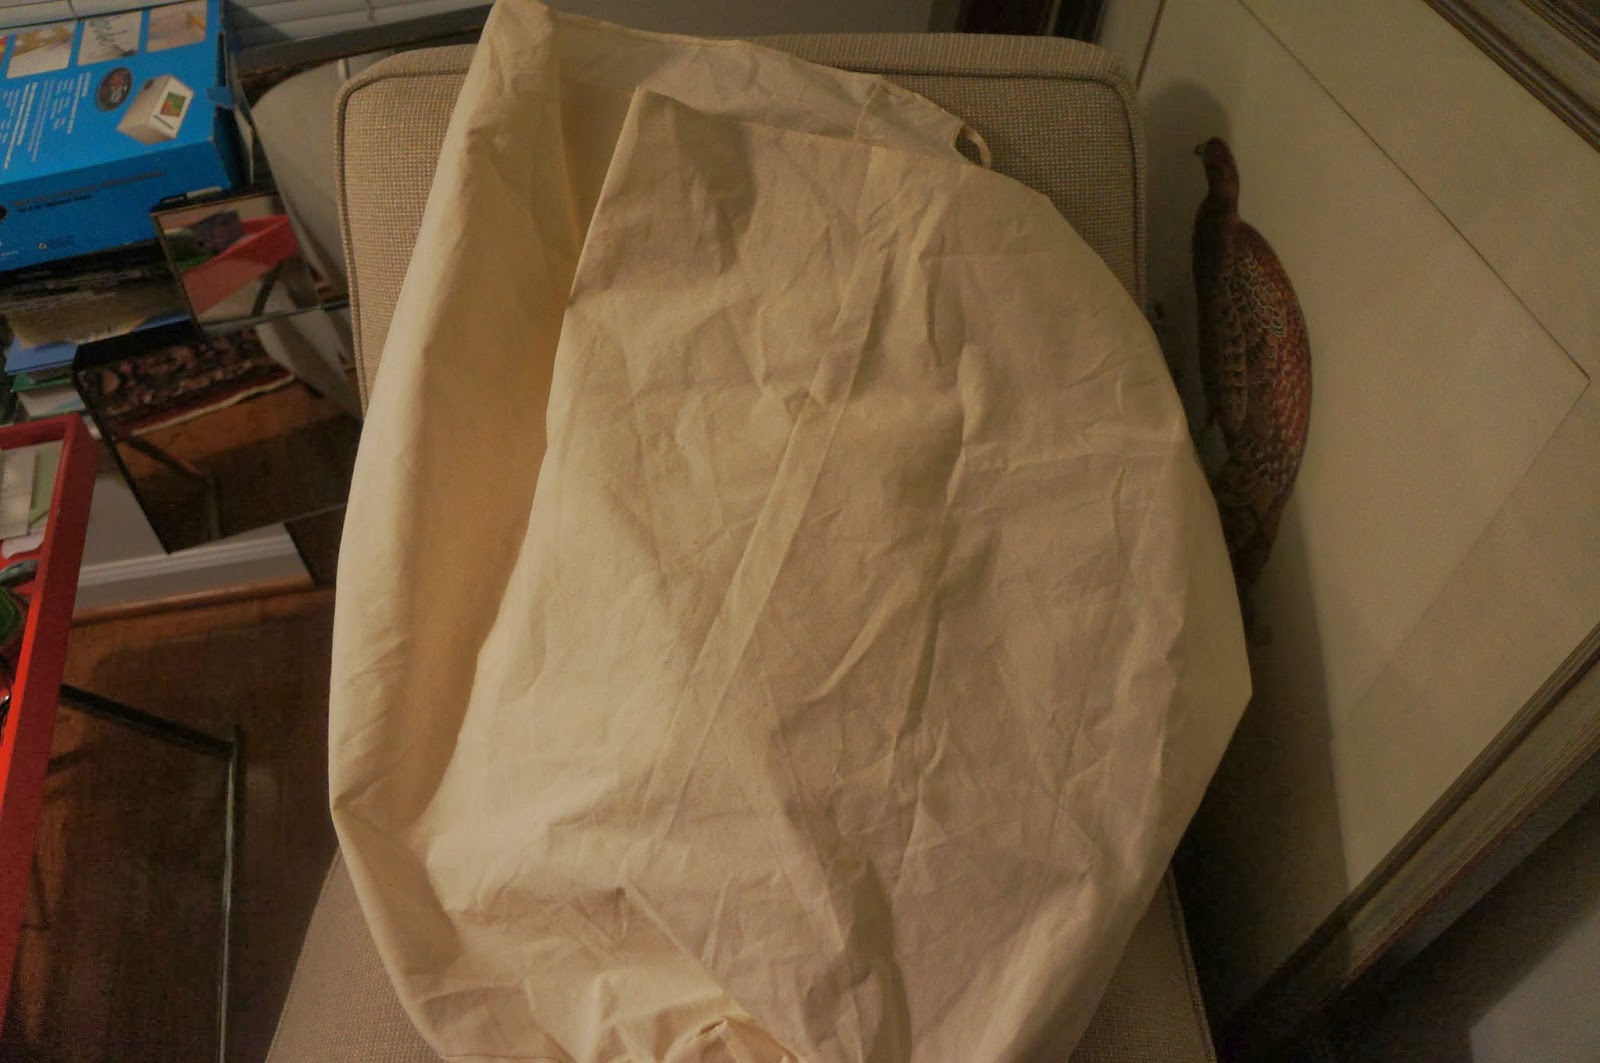
Since I don't get to the fabric store that often I looked around the house for some fabric. I found an old laundry bag that used to line our wicker laundry hamper. It was the perfect color and size so I used it. I ripped the seams so that I would have one flat piece to work with. You can use almost any fabric you have lying around. I suggest using something white or cream so that colors can be more vibrant.
image image


Step 2:
Lay the pillow onto the flattened fabric. You need an inch of extra cloth on each side of the pillow so that is can fit once you start stitching. (I of course am impatient so I didn't do that. Don't be like me!) Use your pencil to make a line where your stitching should go. Don't worry about the marks since you will be turning it inside out once you have finished.
image


image


Step 3:
This part will go a lot faster if you have and know how to use a sewing machine. But since I haven't had the chance to buy a sewing machine because I'm cheap waiting on a good deal, I just used good ole' needle and thread. Pillows are the easiest things to sew, so just take your time if all you have is a needle and thread.

image
(NOTE: If you already have a white or cream color pillow case then ignore all of the sewing steps in the tutorial!)

Step 4:

Once you have sewn three sides leave the last side open and remove your pillow (if you haven't already done so).  Take a piece of cardboard and lay it inside the pillow. This will help prevent the sharpie from bleeding into the other side.

image
Step 5:

Take your pencil and design a pattern. I decided to do a floral pattern and I did it free hand. If you aren't as confident I would suggest using stencils. Just remember it doesn't have to be perfect because we will cause the ink to spread out at the end.

image

Step 6:

Now that you have your design sketched on to your pillow take your sharpie marker(s) and start coloring in the shape of what you want to do. You can even just color a bunch of circles or straight lines!


image image

Step 7:

Now here is the fun part! We are going to take our q-tip and dip it into rubbing alcohol. Make sure the tip is wet and place it on the area you just sharpied. You will notice that the colors will start to bleed. At this point you can either spread the color around with your q-tip or just use drops of rubbing alcohol and let the colors bleed where they may.
image
image

Step 8:

Okay so after you have taken a break (DIYing is tough work!) continue on with your design. Alternating between your sharpie and your rubbing alcohol filled q-tip. Your design will take shape more and more.

Step 9:

You've completed your design!! Isn't it just so beautiful ? Of course it is, you made it!! Now make sure your work is dry. It doesn't take to long, but I recommend letting it sit over night. At this point it where our paths may diverge. You can make a closure for your pillow case using a zipper, buttons , or you may just sew your pillow into your new pillow case. Or if you already had a plain white or cream pillow case you don't have to worry about this step! (HA HA). I ,on the other hand, decided to make tie enclosures.  I won't go into too much detail, all you have to do is sew two strips of fabric into a string and flip it inside out. I want three ties so I will be making a total of six strings.

image image


Step 10:

You've got your pillow in your new water color pillow case and you are all done!! Congratulations you deserve a pat on the back :) Now just set this on your pillow, bed, or where ever you want to display your work and enjoy :)
image image

If you have any questions about this project or if you want to tell me how awesome I am, then please leave a comment in the section below and I will respond. That's all for now!