
Which can be seen and purchased here.
What you will need:
Pillow
Sharpie(s)
Fabric (should cover pillow)
Pencil
Needle and Thread
Rubbing Alcohol
Optional: Zipper or Buttons
Step 1:
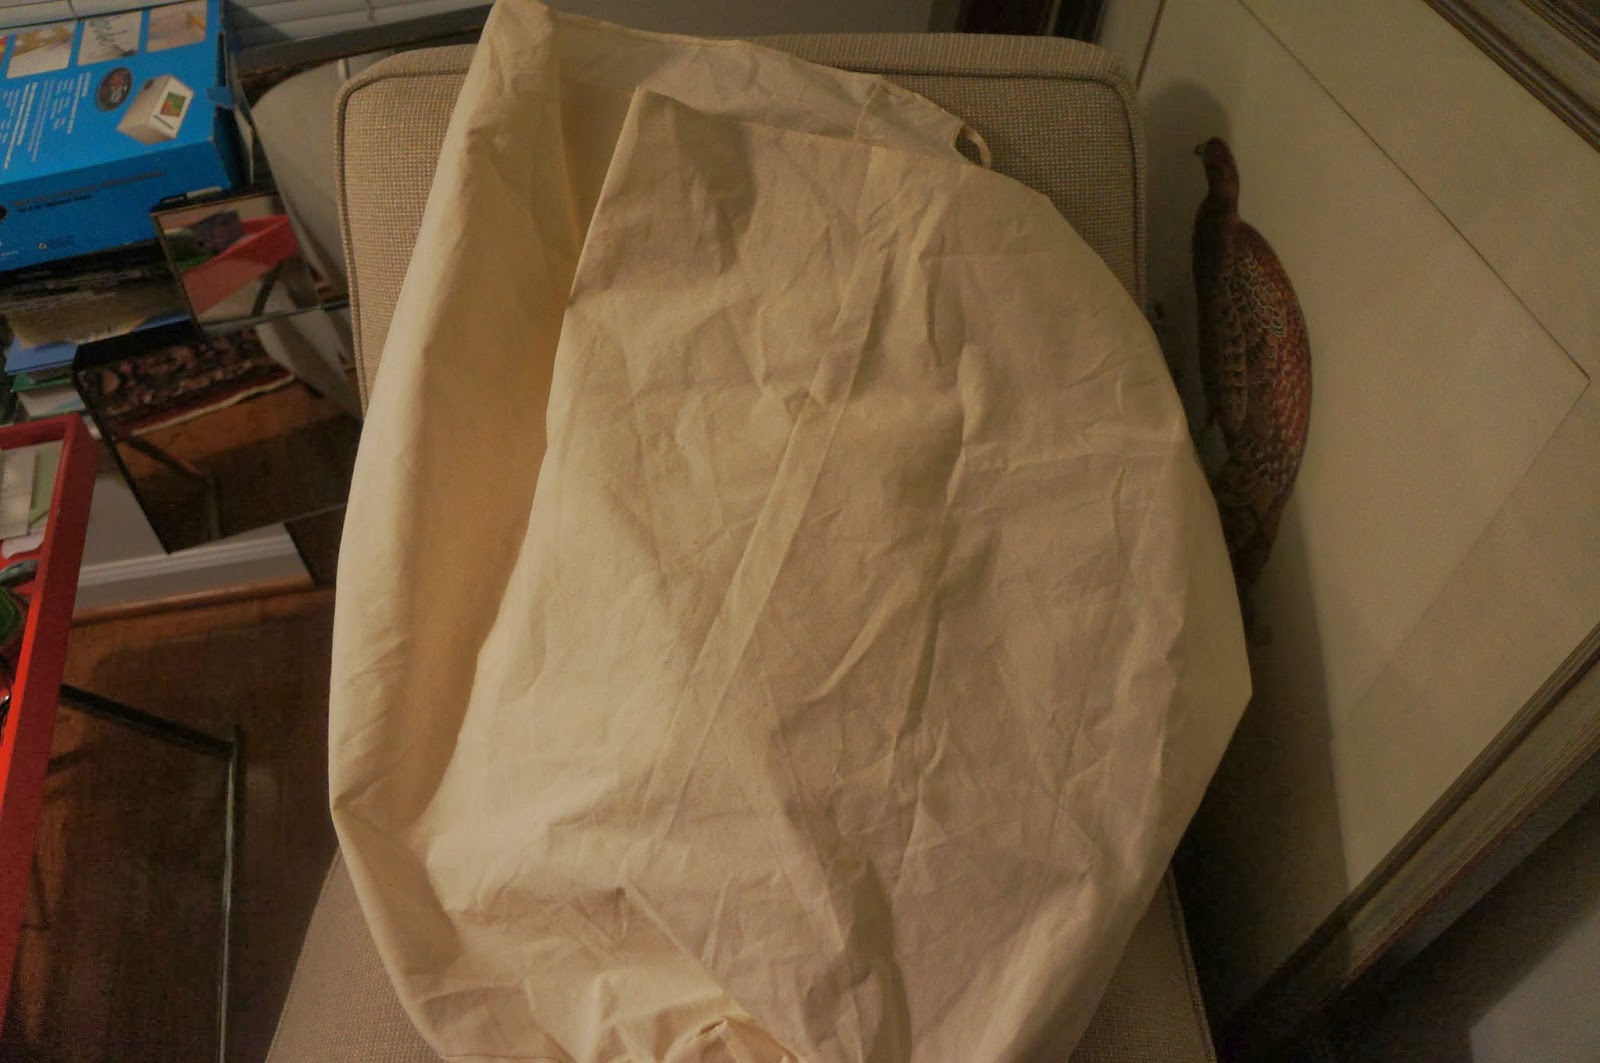
Since I don't get to the fabric store that often I looked around the house for some fabric. I found an old laundry bag that used to line our wicker laundry hamper. It was the perfect color and size so I used it. I ripped the seams so that I would have one flat piece to work with. You can use almost any fabric you have lying around. I suggest using something white or cream so that colors can be more vibrant.

Step 2:
Lay the pillow onto the flattened fabric. You need an inch of extra cloth on each side of the pillow so that is can fit once you start stitching. (I of course am impatient so I didn't do that. Don't be like me!) Use your pencil to make a line where your stitching should go. Don't worry about the marks since you will be turning it inside out once you have finished.


Step 3:
This part will go a lot faster if you have and know how to use a sewing machine. But since I haven't had the chance to buy a sewing machine because I'm cheap waiting on a good deal, I just used good ole' needle and thread. Pillows are the easiest things to sew, so just take your time if all you have is a needle and thread.

(NOTE: If you already have a white or cream color pillow case then ignore all of the sewing steps in the tutorial!)
Step 4:
Once you have sewn three sides leave the last side open and remove your pillow (if you haven't already done so). Take a piece of cardboard and lay it inside the pillow. This will help prevent the sharpie from bleeding into the other side.

Step 5:
Take your pencil and design a pattern. I decided to do a floral pattern and I did it free hand. If you aren't as confident I would suggest using stencils. Just remember it doesn't have to be perfect because we will cause the ink to spread out at the end.

Step 6:
Now that you have your design sketched on to your pillow take your sharpie marker(s) and start coloring in the shape of what you want to do. You can even just color a bunch of circles or straight lines!


Step 7:
Now here is the fun part! We are going to take our q-tip and dip it into rubbing alcohol. Make sure the tip is wet and place it on the area you just sharpied. You will notice that the colors will start to bleed. At this point you can either spread the color around with your q-tip or just use drops of rubbing alcohol and let the colors bleed where they may.


Step 8:
Okay so after you have taken a break (DIYing is tough work!) continue on with your design. Alternating between your sharpie and your rubbing alcohol filled q-tip. Your design will take shape more and more.
Step 9:
You've completed your design!! Isn't it just so beautiful ? Of course it is, you made it!! Now make sure your work is dry. It doesn't take to long, but I recommend letting it sit over night. At this point it where our paths may diverge. You can make a closure for your pillow case using a zipper, buttons , or you may just sew your pillow into your new pillow case. Or if you already had a plain white or cream pillow case you don't have to worry about this step! (HA HA). I ,on the other hand, decided to make tie enclosures. I won't go into too much detail, all you have to do is sew two strips of fabric into a string and flip it inside out. I want three ties so I will be making a total of six strings.


Step 10:
You've got your pillow in your new water color pillow case and you are all done!! Congratulations you deserve a pat on the back :) Now just set this on your pillow, bed, or where ever you want to display your work and enjoy :)


If you have any questions about this project or if you want to tell me how awesome I am, then please leave a comment in the section below and I will respond. That's all for now!
This is so adorable!!!!! great job, mama!
ReplyDeleteThanks Erika! And thanks for being the first comment on my blog :)
Delete