And when I say small I actually mean minuscule. I'm going to start with something we see everyday in our homes ,but don't really pay to much attention to... LIGHT SWITCH COVERS!! In our home there are nothing but these builder grade beauties:
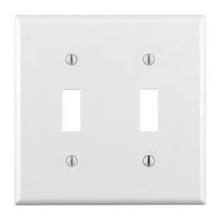
As you can imagine I wanted to go out and replace all of them. Then my husband (aka Dream Killer the practical one) told me that we were NOT going to spend a bunch of money light switch covers. This disappointed me because 1) I wanted my light switches to look pretty and 2) I hate when he is right. So.....
DIY TIME!
Let me show you how to dress up this *yawn* boring light plate for no money.
You will need :
- Light plate cover
- Sharpie (I used black ,but any color will do on a white surface)
- A penny (If you can find them those hole punch reinforcements they are much better for making scallops)
- Pencil
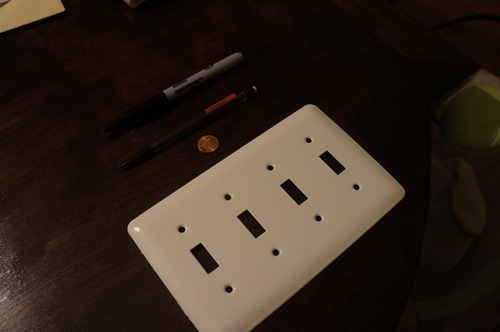
Step one:
Make sure your surface is clean! You don't want any smudges messing up your design.
Step two:
Use your pencil to out line your pattern. I decided to go with a scalloped pattern. I laid the penny on the half on the plate and traced around it. Keep on going until you have finished your first row.
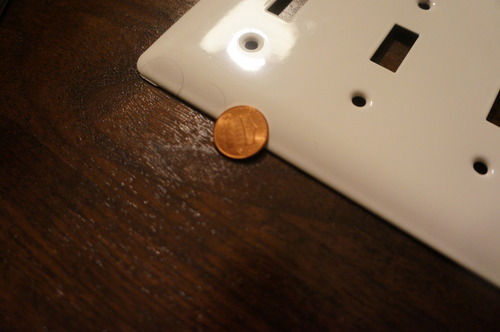
Step three:
After the first row is completed move on to the second row and over the the penny so that the edge falls in the middle of the first scallop. Repeat until you have the desired number of scallops and/or rows. (Remember there is no right or wrong, just what you like!)
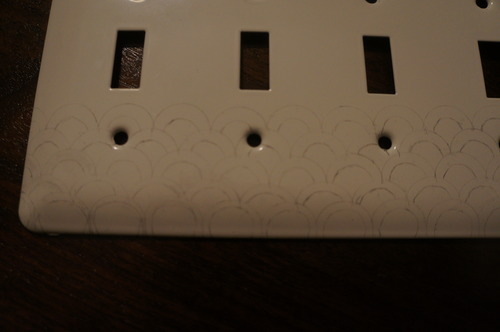
Step four:
Now that you have your pencil outline take your black sharpie and trace over the pencil lines. (This is your project so you can make the lines as thick or thin as you like). I decided to make my bottom scallops thick and the top scallops thin.
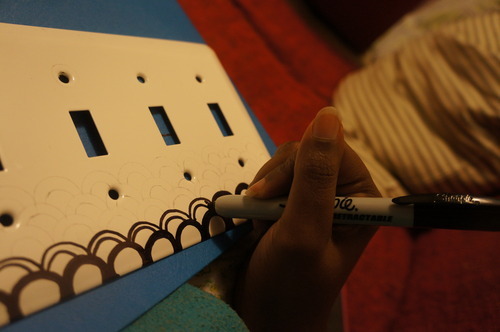
Step five:
Now you have finished filling in all of the scallops you are done!!
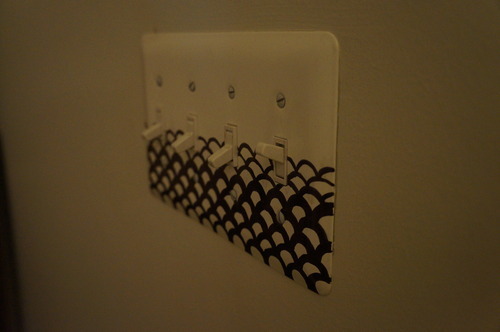
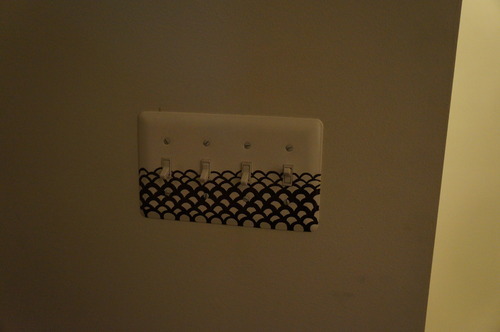
Well that's it. Now that you know the basics you can take what you've learned here and create your own design!
No comments:
Post a Comment